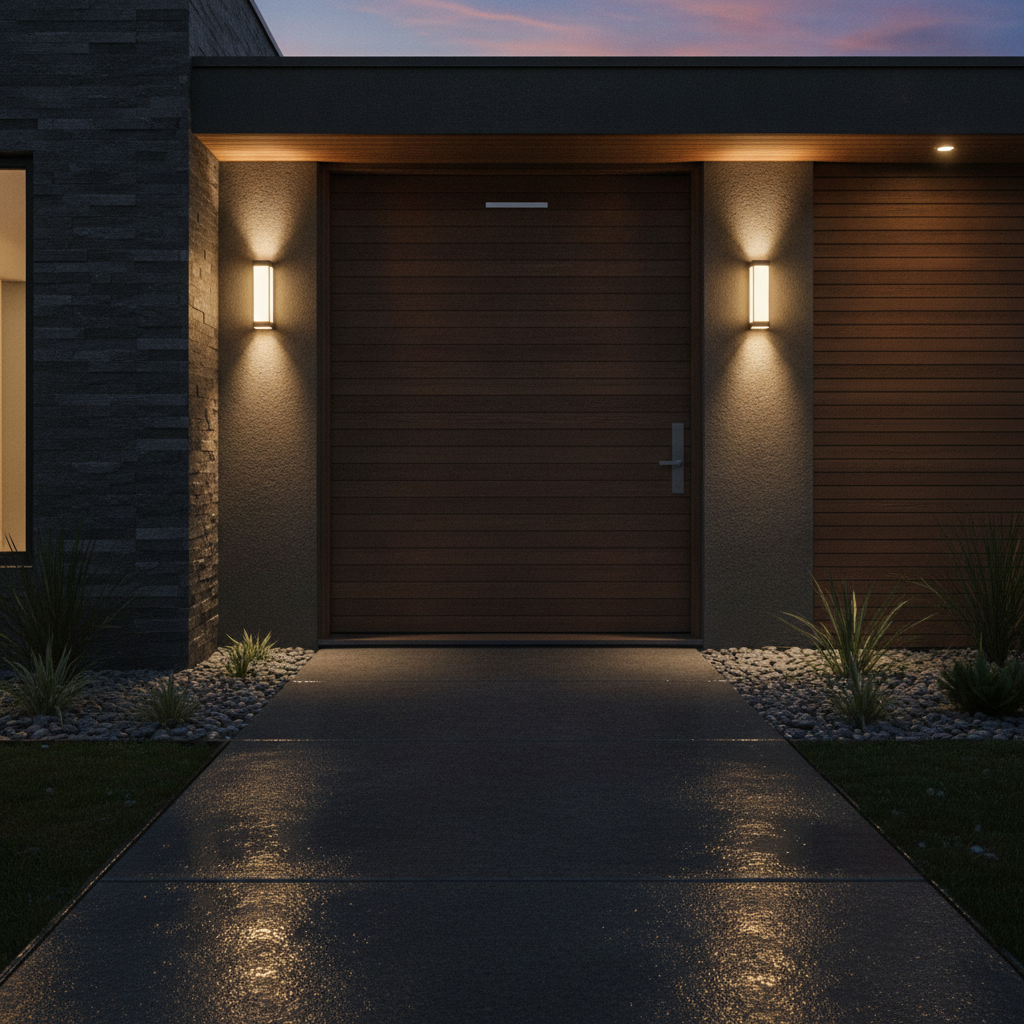
Smart door sensors are small contact devices that detect when a door opens or closes and alert your system instantly. They boost home security, enable automations like entry lighting, and integrate with locks, cameras, and garage controls. For Brampton homeowners, SmartAura professionally selects, installs, and connects sensors across your whole home for reliable, unified control.
By SmartAura • Last updated: July 9, 2026
| Service area | Brampton and the Greater Toronto Area |
|---|---|
| Consultation | Free in-home consultation to tailor placement and hardware |
| Installation | White-glove install by certified technicians, including wiring and configuration |
| Support | Lifetime, 24/7 priority support with one-touch control |
| Integrations | Smart locks, video doorbells, cameras, lighting, garage & entry, Matter |
- Overview
- What smart door sensors do
- 7 signs you need them
- How to choose the right sensor
- How sensors connect to automations
- Professional install vs. DIY
- What to expect with SmartAura
- Local tip: Brampton conditions
- FAQ
Overview
Smart door sensors detect door open/close status and feed that data into your security and smart home platform. In a pro-installed system, they do more than send pings—they coordinate lighting, locks, cameras, and garage controls. SmartAura designs whole-home layouts so every key entry is covered with reliable alerts and useful automations.
In our experience, the “quiet fails” kill trust—like a basement side door that never reports in winter. We solve that with protocol selection, mesh planning, and correct magnet gaps. Expect scenes that just work: foyer lights at 11 pm, back door auto-lock after 10 minutes, and cameras rolling for deliveries.
Explore related services like Smart Security, Smart Sensors, and Garage & Entry to see how doors, locks, and cameras work together.
What Smart Door Sensors Actually Do in a Whole-Home System
In a whole-home system, smart door sensors verify perimeter status, trigger instant alerts, and orchestrate scenes. They can arm or disarm rules, cue entry lighting, start camera recording, and lock doors automatically. SmartAura configures door, mudroom, patio, and garage entries so your system responds intelligently every time.
Core functions you’ll actually use
- Real-time alerts: Phone and panel notifications the moment a door opens.
- Security rules: Auto-arm at night; disarm foyer sensors when you arrive.
- Lighting scenes: Turn on entry and hallway lights after sunset.
- Camera coordination: Start recording on front and side cameras when certain doors open.
- Lock control: Pair with smart locks to auto-lock after no activity.
- Garage and gate: Tie into smart garage hubs and gate control for secure access.
Installer notes from the field
- Gap tolerance matters: Most magnetic contacts need a closed gap under ~10 mm. Warped garage frames blow past this and cause “door open” ghosts—we shim and re-seat to spec.
- Battery chemistry: In uninsulated garages, cheap coin cells lose punch by February. We spec cold-rated cells and place sensors where wind doesn’t whip through.
- Naming saves sanity: “Back door (kitchen)” beats “Door sensor 7.” We document zones so everyone knows what’s what.
7 Signs You Need Smart Door Sensors
You need smart door sensors if perimeter awareness is hit-or-miss, your alarm has zones but no automations, or you manage multiple entries including a detached garage. Sensors close the loop between alerts and actions—lighting, locking, and recording—so you’re not glued to an app.
- Your alarm beeps, but nothing else happens: Zones exist, scenes don’t. Integration is the gap.
- Detached or side garage door is unmonitored: It’s the most common Brampton break-in point we see.
- Semi-detached layout with shared side entry: You need directional alerts and camera tie-ins to avoid confusion.
- Basement suite or rental: You want audit trails for entry without interior cameras.
- Metal exterior doors: If notifications lag, protocol and repeater placement need a rethink.
- Kids arrive after school: A simple “front door opened” plus foyer lights and a camera clip is peace of mind.
- Overhead garage left open overnight: Tie door contacts to auto-close checks after a quiet period.
The 5 Things That Determine Which Sensor Fits Your Home
We default to Z‑Wave for most perimeter doors in Brampton because 900 MHz handles brick and concrete better than 2.4 GHz. Interiors often do well on Zigbee or Thread. Final choice depends on materials, distance, environment, and your hub ecosystem.
Our selection checklist
- Door/frame material: Steel doors can shave 6–12 dB off signal; we counter with protocol choice and repeaters.
- Distance and walls: Detached garage 40–60 ft from the hub through brick? Plan one powered repeater.
- Protocol: Z‑Wave for perimeter stability; Zigbee/Thread for dense interior meshes; Wi‑Fi only for small installs with strong AP coverage.
- Environment: Cold-rated enclosures and batteries for exterior/garage; gasketed housings near humidity.
- Integration: Align with cameras and alarms, lighting, and garage control from day one.
Protocol stance (no false balance)
| Best for | Our default | Why |
|---|---|---|
| Perimeter doors, garages | Z‑Wave | 900 MHz cuts through brick; less 2.4 GHz congestion |
| Interior doors, dense sensors | Zigbee or Thread | Fast mesh, great battery life, broad device support |
| Tiny installs, single hub | Wi‑Fi (sparingly) | Simple, but stresses APs if overused |
How Smart Door Sensors Connect to Your Other Automations
Sensors shine when they drive actions: lights on at entry, cameras clip deliveries, and locks secure after quiet time. We map each door to specific, low-friction scenes so you get safety and convenience without babysitting apps.
Field story: A Brampton client’s side garage door was the weak link—no light, no camera clip, and the overhead door often left open. We added a side-door contact, linked it to a garage cam, and built an “11 pm sweep” that closes the overhead if it’s still open. Zero false alarms since.
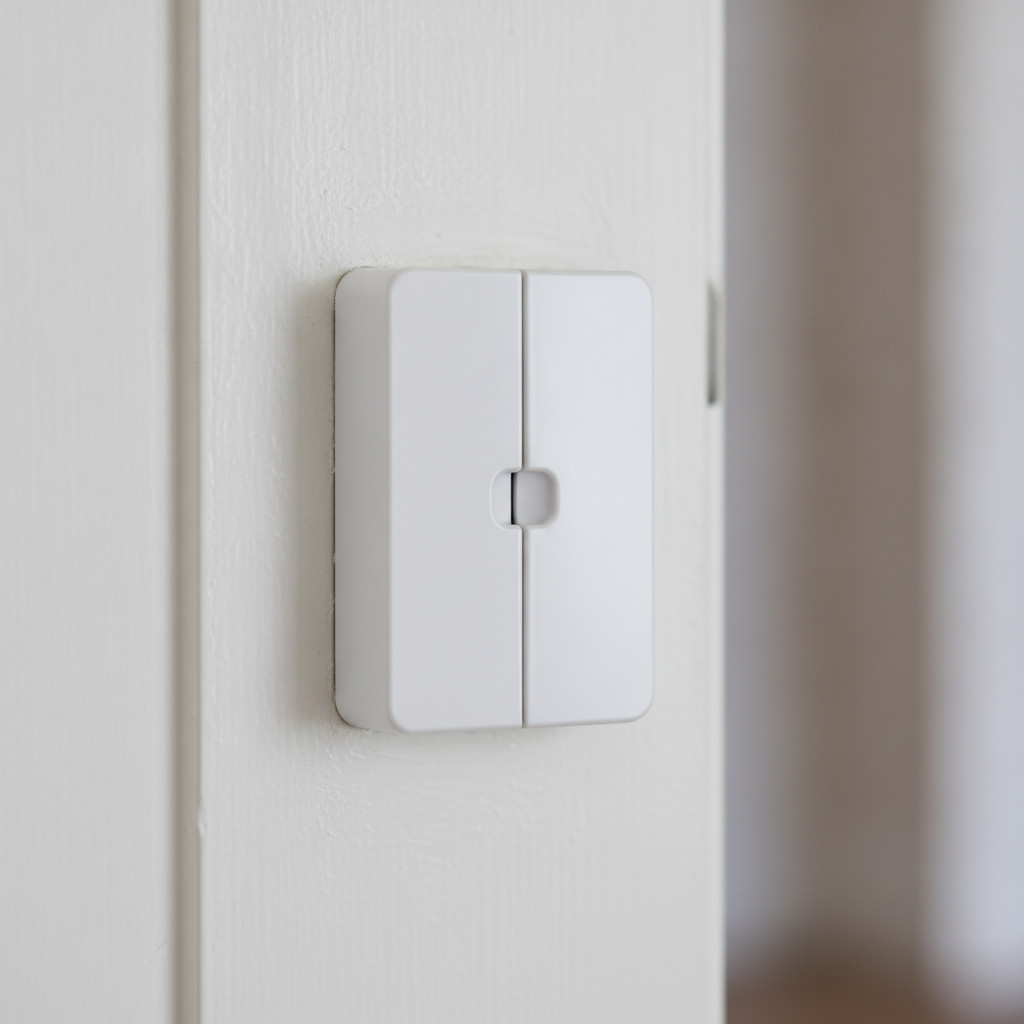
Examples that stay useful
- Welcome home: Door opens after sunset → foyer/hall lights on; entry camera marks the event.
- Delivery capture: Doorbell press + door open → 30-second camera clip; porch light brightens.
- Night sweep: No door activity for 15 minutes → auto-lock back door; check garage state.
Window Sensors: What Changes Compared to Doors
Windows are the other half of a perimeter, and they behave differently enough that treating them like doors is the most common planning mistake we see. A door opens on a predictable arc, gets used many times a day, and has a frame sturdy enough to hold a contact pair in permanent alignment. A window may slide, crank outward, tilt, or never open at all — and the sash often moves just enough seasonally to break a contact that was set perfectly in July.
That leads to three practical differences. First, alignment tolerance matters more: on casement and older wood sash windows we allow a wider gap spec so humidity swings do not generate false opens in August and misses in February. Second, sensor type often changes — a basement window that never opens is better served by a glass-break or vibration sensor than a contact pair, because the realistic risk is the pane rather than the latch. Third, placement is constrained by trim depth; narrow stops on older Brampton homes frequently need a low-profile or recessed sensor rather than the surface-mount unit that works fine on a door.
Which Windows Are Actually Worth Sensing
You rarely need every window covered, and covering all of them is how people end up with a system they stop arming. The windows that earn a sensor are the ones reachable without a ladder and screened from the street: ground-floor rear and side windows, basement windows below grade, and any window over a flat garage or porch roof that gives a second-storey entry point. Second-floor windows on the front of the house facing a lit street are usually the last priority.
A useful test is to walk the outside of the house at dusk and ask which windows you could reach and work on without a neighbour noticing. That list is almost always shorter than the full window count, and it is the list worth budgeting for first.
Professional Installation vs. DIY: What Changes and Why It Matters
DIY gets devices on the wall. Pro installation makes them dependable. We fix dead zones, choose the right protocol, place repeaters, secure the network, name zones clearly, and document scenes—then back it with lifetime, 24/7 support.
What we fix most often
- False opens: Magnet gap over 10 mm from warped frames; we shim and reposition to spec.
- Missed alerts: 2.4 GHz congestion; we move perimeter to Z‑Wave and add one repeater through brick.
- Battery churn: Coin cells dying in February; we spec cold-rated cells and adjust wake intervals.
- Network drag: Cameras starving sensors; we isolate traffic with VLAN/QoS on home networking.
Bundled providers like Vivint, ADT, and Bell Smart Home are options. Our difference is bespoke engineering, cross-brand Matter integration, and local on-site support for life—useful if you already own mixed brands or want tighter ties to lighting and AV.
What to Expect from a SmartAura Smart Sensor Setup
You’ll get a clear, 5-step process—consultation, design, installation, scene building, and training—so sensors, locks, cameras, lighting, and garage controls work smoothly from day one, with lifetime, 24/7 support behind it.
- Discovery & design: We walk the property, measure gaps, note materials, and select protocols.
- Network readiness: Validate AP placement and mesh; plan a Z‑Wave repeater if the garage is 40–60 ft away through brick.
- White-glove install: Discreet mounts, neat cabling, correct gaps, and clean device naming.
- Scene building: Welcome lights, delivery capture, night sweep, auto-lock after quiet time.
- Training & support: One-touch control handoff plus lifetime, 24/7 priority support.
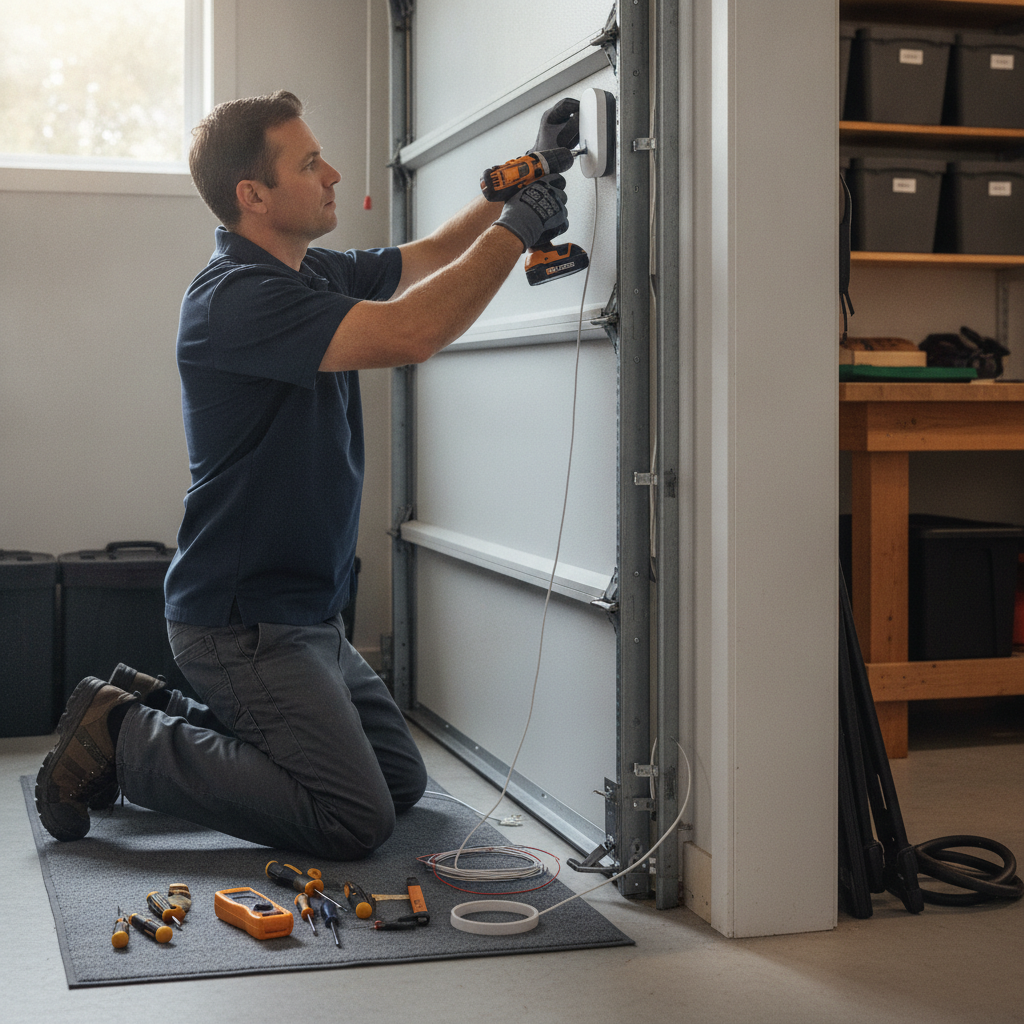
SmartAura local tip for Brampton homeowners
Brampton swings from roughly -13°F to 100°F (-25°C to 38°C). In uninsulated garages, cheap coin cells fade fast by February. We spec cold-rated batteries, set tighter magnet gaps, and favor Z‑Wave on exterior doors to punch through brick and concrete common in Peel Region builds.
Local Tip: Conditions That Affect Sensor Choice in This Region
Brampton’s climate and brick-heavy construction stress weak sensors. Use cold-rated batteries, keep magnet gaps under 10 mm, and prefer Z‑Wave for perimeter doors. For detached garages 40–60 ft from the hub through brick, plan one repeater for reliable signals.
Local considerations for Brampton
- Detached garages: A single powered Z‑Wave repeater near the rear often fixes drops through brick.
- Winter installs: We warm-adhere mounts and use mechanical fasteners so tape doesn’t fail in January.
- Semi-detached side entries: Directional alerts and camera pairing reduce confusion at shared paths.
Coordinating broader exterior upgrades? A well-timed door, fence, and gate plan streamlines access control. For general context in the city, see this fence installation overview and a home selling checklist when planning sensor transfer. To gauge local hardware availability, review a Brampton product category page.
FAQ
Most questions center on reliability, compatibility, and placement. Here are concise answers from our Brampton installs. For specifics, we verify protocols, gaps, and mesh coverage during a free consultation.
Do smart door sensors work with smart locks and cameras?
Yes. We pair sensors with locks and cameras so openings trigger recordings, lights, and auto-lock rules. We align protocols (Zigbee, Z‑Wave, Thread/Matter, or Wi‑Fi) and name devices clearly so scenes are reliable and easy to manage.
Where should door sensors be installed?
Place them at the top or side of the door where the magnet can align within roughly 5–10 mm when closed. We account for trim depth, weather stripping, and metal frames. Garages may need tilt sensors or robust enclosures depending on the door type.
Will cold weather affect performance?
Cold can reduce battery output and widen magnet gaps. We use cold-rated batteries, confirm tolerances during install, and build a resilient mesh so signals get through even on frigid days. Detached garages often benefit from a powered repeater.
Can I mix brands if I already own some sensors?
Often, yes—especially with Matter-ready hubs and Thread networks. We test compatibility, map zones, and standardize naming so mixed-brand devices behave consistently and are simple to control from one interface.
Key takeaways
- Keep magnet gaps under ~10 mm and use cold-rated batteries for garages.
- Favor Z‑Wave for perimeter doors; Zigbee/Thread excel indoors.
- Plan at least one repeater for a brick-separated detached garage 40–60 ft out.
- Professional installation prevents false opens, missed alerts, and battery churn.
Ready to get started? Book a discovery session in Brampton and we’ll map your doors, choose the right protocols, and set up dependable automations that fit your routines.