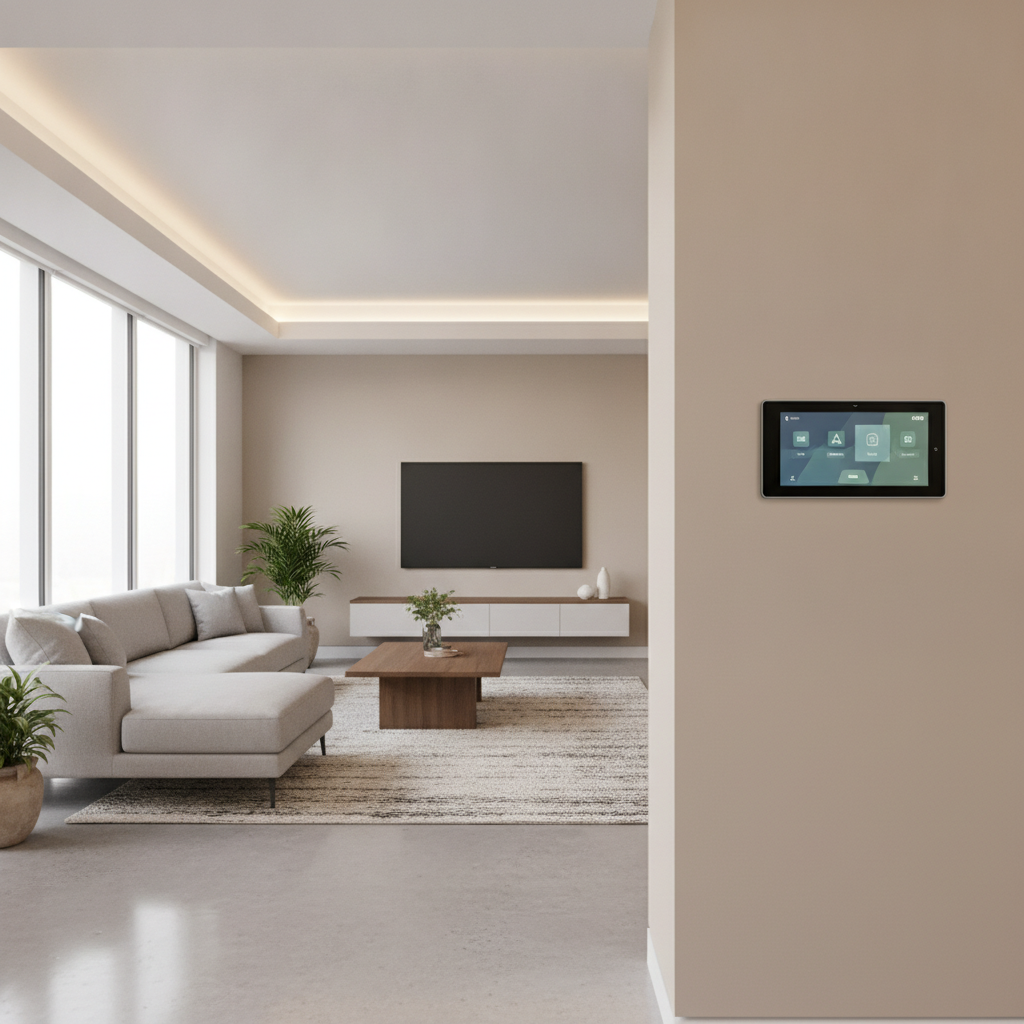
A smart home control panel is a professionally configured command surface that unifies lighting, security, shades, climate, entry, and entertainment. For Brampton homes, SmartAura designs, installs, and supports panels mapped to your rooms and routines, so you tap once—no juggling apps, remotes, or guesswork.
By Jai inder — SmartAura • Last updated: 2026-07-12
| Service area | Greater Toronto Area with fast on‑site support in Brampton |
|---|---|
| Consultation | Free in‑home discovery and assessment |
| Installation | White‑glove by certified technicians (wiring + configuration) |
| Support | Lifetime, 24/7 priority support |
| Control approach | Unified single‑platform control with Matter integration |
| Core systems unified | Smart Security, Smart Lighting, Shades & Blinds, Garage & Entry, Smart Climate, Audio & Video, Networking, Whole‑Space Automation |
Brampton placement insight
Multi‑level homes here often have busy mudrooms and open stairwells. We place the primary panel near the mudroom or kitchen entry, then program an “All Off / Arm Away” scene that shuts lights, closes shades, locks, and arms security as you head out—reliable and quick.
Overview: the 5 home wins
A well‑configured smart home control panel delivers simplicity, safety, comfort, entertainment flow, and reliability. SmartAura ties scenes, sensors, and network health together so your home responds predictably—one tap for whole‑house actions, consistent arming, energy‑smart climate, seamless A/V, and strong Wi‑Fi.
- Simplicity: One‑tap Goodnight turns off lights, closes blinds, locks doors, and arms security.
- Safety: Door locks, garage, and cameras share status on a single screen with clear alerts.
- Comfort: Lighting warmth, shade position, and setpoints track time and occupancy.
- Entertainment flow: Whole‑home audio and inputs cue without remote juggling.
- Reliability: Robust networking supports calls, streams, and automations without stalls.
Picture walking in with grocery bags: the entry lights fade to warm 3000K, the mudroom lock confirms shut, blinds rise for daylight, and your playlist resumes—no hunting for an app. That’s the point.
What a Smart Home Control Panel Actually Does (and What It Controls)
A control panel centralizes lighting, security, shades, climate, entry, and A/V. SmartAura programs room‑specific scenes, schedules, and fail‑safes so actions are consistent and fast—no device hopping, and support is 24/7 if you need help.
- Instant status: Armed state, locks, garage, and cameras visible at a glance.
- Scenes: We keep 4–6 primary scenes on the home screen (Goodnight, Away, Movie, Evening, Welcome, All Off).
- Granular control: Dimming levels, shade groups, thermostat setpoints, and source selection.
- Automations: Schedules, motion triggers, sunrise/sunset, and occupancy logic across devices.
- Responsiveness: Lighting scene latency under ~300–500 ms feels instant in day‑to‑day use.
Panels are most valuable when they mirror how you move through the home. That’s why we start with a discovery walkthrough before design.
The Services a Control Panel Should Unify: SmartAura’s Installed Stack
Your panel should drive every major system. SmartAura unifies Smart Security, Smart Lighting, Shades & Blinds, Garage & Entry, Smart Climate, Audio & Video, Networking, and Whole‑Space Automation—designed, wired, and tested as one plan.
- Smart Security: AI cameras, smart locks, and sensors for fast arming and verified alerts—see our Smart Security.
- Smart Lighting: Dimmers, motion lighting, and LED strips with warm/cool scenes—see Smart Lighting.
- Shades & Blinds: Motorized blinds with sun‑tracking and shade schedules for glare and privacy.
- Garage & Entry: Gate control, vehicle sensors, remote entry, and a smart garage hub.
- Smart Climate: Thermostats, AC controllers, and air quality sensors—see Smart Climate.
- Audio & Video: Multi‑room audio, streaming setups, and smart remotes—see Audio & Video.
- Networking: Mesh Wi‑Fi, smart routers, and security hardening—see Networking.
- Sensors & safety: Window and motion sensors informing lighting and entry—see Smart Sensors.
Because we own the wiring and configuration, your panel reflects a single, unified design—not a patchwork of apps.
Touchscreen Panel vs. App vs. Voice: Which Interface Fits Which Room
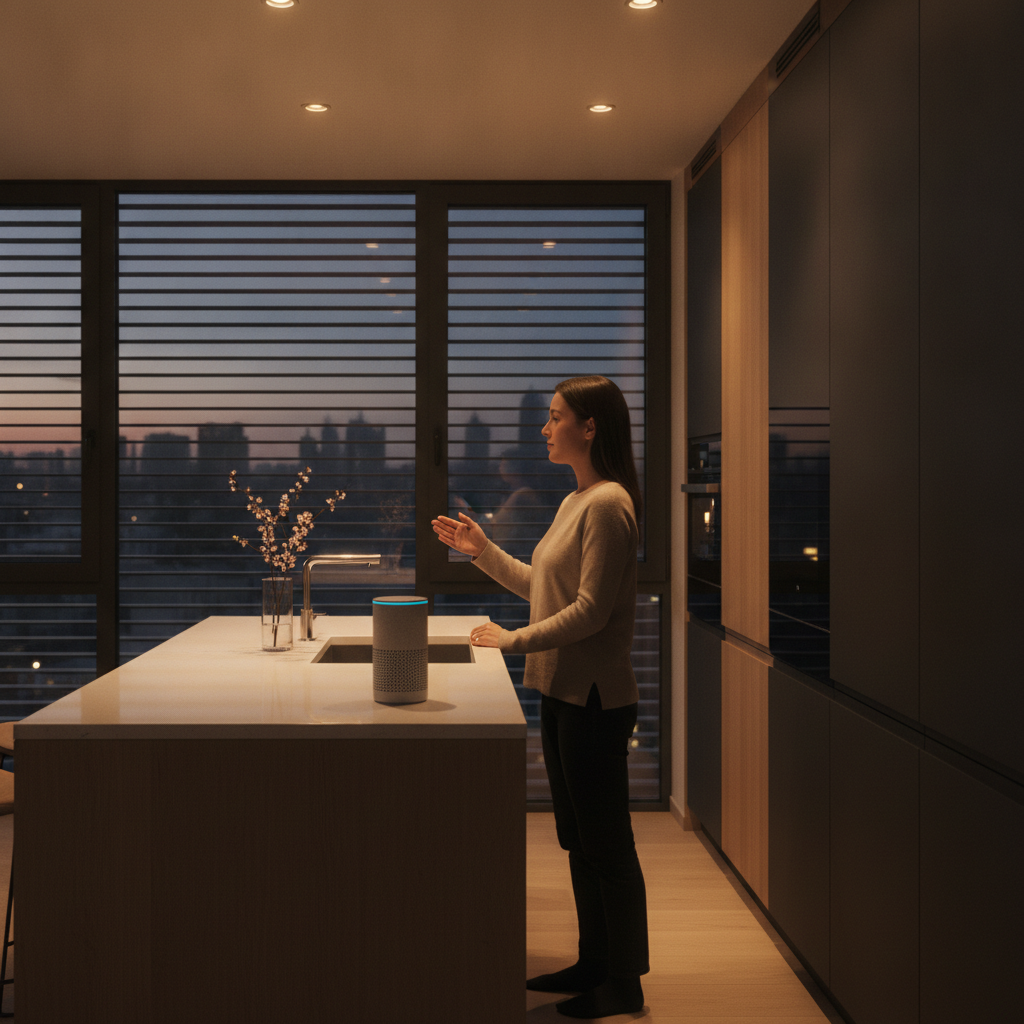
Use a wall‑mounted touchscreen for shared control, a mobile app for away‑from‑home actions, and voice for hands‑busy moments. We blend all three so each room gets the most natural interface.
| Interface | Best for | Pros | Watch‑outs |
|---|---|---|---|
| Touchscreen panel | Kitchen, mudroom, central hallway | Instant status; house‑wide scenes; fixed location | Needs power and backbox; plan wiring early |
| Mobile app | Arriving, travel, late‑night checks | Remote access; notifications; personal favorites | Can get cluttered if devices aren’t unified |
| Voice | Kitchen, media room, bedroom | Hands‑free; fast single‑action commands | Privacy preferences; phrasing consistency |
- Our default recommendation: For most detached Brampton homes over ~2,000 sq ft, we install a 7‑inch class in‑wall touchscreen near the mudroom or kitchen and skip a basement panel unless there’s a finished rec room used daily.
- Townhomes/condos: A single in‑wall panel near the entry plus app and voice in other rooms is typically ideal.
- Luxury builds: Multiple panels per level with PoE backhaul and a dedicated equipment rack for A/V and networking.
Retail options like Best Buy or Amazon listings, and ecosystems such as Brilliant wall controls or Control4 touchscreens, give a sense of hardware styles. We specify form factor and wiring first, then unify everything on one control model.
What Professional Configuration Delivers That DIY Setup Cannot
Professional configuration delivers a unified platform, rock‑solid networking, safe wiring, and scenes that match your rooms. SmartAura installs, labels, and tests each device, then supports it for life—so the panel behaves the same way, every day.
- Wiring & power: We rough in Cat6 home‑runs to panel backboxes for PoE/PoE+ touchscreens and use 18/4 or 22/4 where low‑voltage keypads or sensors make sense.
- Network health: We design for RSSI of −60 to −65 dBm in living areas, wired backhauls between APs, and VLAN separation for IoT so cameras don’t choke streaming.
- Scene discipline: Home screen capped at 6 scenes; descriptive labels prevent “button sprawl.”
- Safety logic: Auto‑lock timeouts, arming delays, and garage‑tilt checks reduce false alarms.
Real‑world fixes we’ve made in Brampton:
- A DIY Z‑Wave hub dropped devices on the second floor. We replaced it with wired keypads where practical, added a ceiling AP with proper channel planning, and device failures stopped.
- An “Away” scene kept triggering while someone was still in the garage. We added a 45‑second exit delay and a garage‑door tilt sensor requirement before arming—problem solved.
- In a semi‑detached, 2.4 GHz interference near the shared wall caused spotty voice responses. We shifted channels, moved one AP two joists over, and set minimum data rates—latency normalized.
If you’re renovating, align wall blocking and power with panel height. Coordinating with local pros—such as TV mounting in Brampton—lets us conceal wiring behind millwork cleanly. Schedule paint between rough‑in and final mount; this interior painting guide is useful for timing. Media cabinetry planning also helps; see context on media unit setups.
How SmartAura Designs a Control Panel Layout for Your Home
Our process maps rooms, routines, and devices, then produces a labeled layout with core scenes and safeguards. We install, test, and train you—then provide lifetime, 24/7 help so your control panel stays consistent as your needs evolve.
- Discovery: Free in‑home walkthrough to capture floor plan, habits, sunrise/sunset exposure, and security priorities.
- Engineering design: Panel locations, Cat6 runs for PoE, AP placement, and a unified control schema.
- Installation: Certified techs mount panels, terminate cables, power supplies, and commission devices.
- Programming: Core scenes: Goodnight, Away, Movie, Dinner, Welcome, and All Off—plus room‑level favorites.
- Verification: We test latency, fail‑safes, and notifications across subsystems—locking, shading, HVAC.
- Training & support: Hands‑on walkthrough and lifetime, 24/7 priority support.
Local considerations for Brampton
- Seasonal sun: West‑facing rooms benefit from shade schedules to cut afternoon glare and heat.
- Winter routines: “Warm Arrival” can preheat zones and light entries during early dusk.
- Detached layouts: Place panels near the garage or mudroom for quick All Off / Arm Away scenes.
Choosing the Right Panel for Your Property Type
Choose by placement, power, and platform. We specify hardware that fits your rooms, supports unified control, and scales with Matter‑enabled devices—so townhomes, detached homes, and luxury builds all get the right interface without lock‑in.
- Size & power: 7‑inch class in‑wall panels powered by PoE/PoE+ are our go‑to for shared spaces; tabletop docks work in owner suites.
- Square footage: Over ~2,000 sq ft or multi‑level living? Add a second panel on the level you enter most often.
- Network backbone: Wire for growth—Cat6 to panels, wired backhaul between APs, and a centralized rack for A/V and networking in larger homes.
- Ecosystem fit: We harmonize wall panels, apps, and voice assistants. Retail options (Best Buy, Amazon listings) and ecosystems (Brilliant, Control4, Moes) inform style and capability; we build a single, predictable control model around your home.
- Future‑ready: Matter integration and spare switch legs make later device adds a quick commissioning step.
Key takeaways
Prioritize wiring, network strength, and disciplined scene design. In most Brampton detached homes, a 7‑inch PoE panel near the mudroom plus unified scenes delivers the smoothest everyday control—and it stays flexible as you add devices.
- Wire early: Cat6 to panels; plan PoE power; allow backboxes at ergonomic height.
- Design for Wi‑Fi RSSI of −60 to −65 dBm and wired AP backhauls.
- Limit the home screen to 4–6 high‑value scenes with clear names.
- Use delays and state checks to avoid accidental arming or lockouts.
- Think expansion: Matter‑ready plus spare switch legs simplify upgrades.
Plan your control panel the smart way. Book a free in‑home consultation in Brampton and get a room‑by‑room layout, scene plan, and network check from SmartAura’s certified team.
Frequently Asked Questions
Homeowners ask about placement, reliability, and how panels interact with phones and voice. Here are direct answers from our Brampton projects.
Where should a smart home control panel go?
Place the primary panel on a common path—kitchen entry, mudroom, or central hallway—at a natural reach. Add a second panel if the home is over ~2,000 sq ft or you enter from a different level. We avoid clutter by using app and voice in secondary rooms.
Will a panel still work if Wi‑Fi drops?
We design for local control wherever possible, and we harden networking with wired backhauls. Many automations continue locally; remote access may pause until connectivity is restored. We also monitor Wi‑Fi health so weak spots don’t linger.
How do the panel, app, and voice work together?
We keep one unified scene library. The same Goodnight appears on the wall panel, in your phone, and via voice. That way, everyone chooses a preferred interface without creating duplicates or conflicts.
Can I add devices later without redoing everything?
Yes. We design with expansion in mind and leverage Matter integration when appropriate. Adding a dimmer, sensor, or lock becomes a quick commissioning step, not a system overhaul.