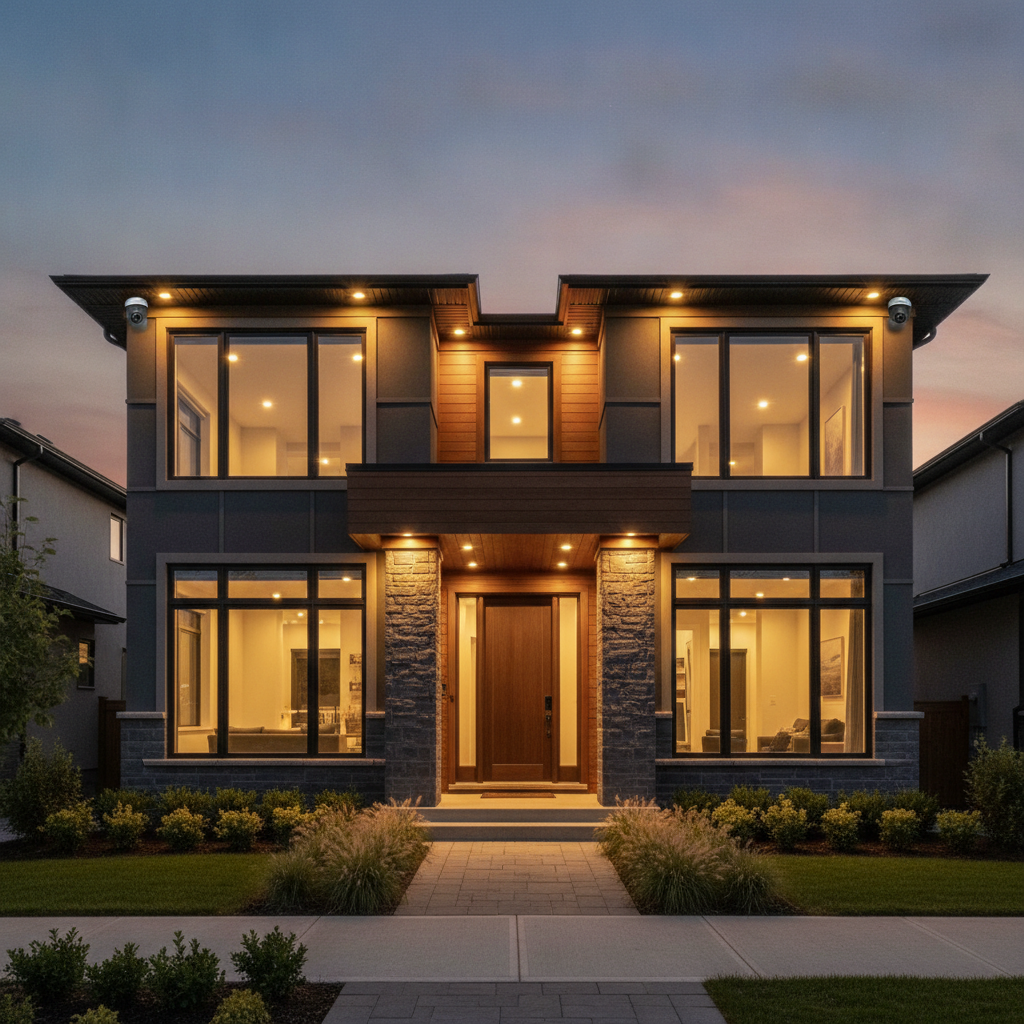
Home security system installation is the end-to-end process of planning, placing, wiring or pairing, configuring, and testing cameras, sensors, smart locks, and alarms so your home stays protected 24/7. In Brampton, professional setup ties devices into one app, strengthens your network, and reduces blind spots that DIY kits often miss.
By SmartAura • Last updated: 2026-07-03
Start here: your installation game plan
Start with a security walkthrough, define zones, and decide wired, wireless, or hybrid. Prep your network, place devices for 360° coverage, then provision, calibrate, and test. In Brampton homes, integrating security with lighting and entry control maximizes deterrence and everyday convenience.
You want a safe, simple system that actually works when it counts. This complete guide blends practical steps, engineering best practices, and local know‑how from SmartAura’s certified team.
- Plan coverage using doors, windows, and approach paths as anchors.
- Choose wired, wireless, or hybrid based on reliability, aesthetics, and retrofit effort.
- Harden your network for cameras and cloud connectivity.
- Deploy devices at correct heights, angles, and distances for clear identification.
- Integrate lighting, garage, and entry control for one‑touch security scenes.
Use this as your checklist and, when you’re ready, lean on SmartAura’s white‑glove installation and lifetime 24/7 support for long‑term peace of mind.
Overview
A modern home security system combines cameras, video doorbells, sensors, sirens, smart locks, and monitoring in a single app. Effective installation aligns coverage, power, and network capacity so recordings are crisp, alerts are timely, and automations trigger lights and locks without delay.
Here’s what you’ll take away from this guide.
- What home security installation includes and why professional integration matters.
- How devices work together and where to place them for real coverage.
- Step-by-step installation flow, from site survey to final validation.
- DIY vs. professional trade-offs, with a comparison table.
- SmartAura examples from Brampton homes and best-practice checklists.
What is home security system installation?
Home security system installation is the professional design and deployment of cameras, doorbells, locks, sensors, and alarms—including wiring, device onboarding, app configuration, and testing—so your home is protected and easy to control. The goal is verified detection, fast alerts, and seamless everyday use.
The term covers more than mounting devices. It includes risk modeling, zone design, network engineering, and user training. A proper install aligns device specs (resolution, field of view, night vision, detection types) with your home’s layout and daily routines.
- Design: Map entry points, approach paths, and valuables to coverage zones.
- Power: Plan PoE, low-voltage, or battery schedules to avoid downtime.
- Network: Allocate bandwidth, SSIDs, and VLANs to prevent congestion.
- Provisioning: Securely onboard devices, rename logically, and update firmware.
- Validation: Test alert latency, video clarity, and automation triggers.
At SmartAura, we fold security into the broader smart home. That means your cameras, sensors, smart locks and alarms work alongside lighting, climate, garage, and voice control in one unified system.
Why professional installation matters in Brampton
Professional installation reduces blind spots, improves identification quality, and locks down your network. In Brampton, local integrators also understand seasonal conditions, retrofit constraints, and how to coordinate security with lighting, garage, and entry for reliable, daily use.
Here’s the thing: most homeowners don’t want to become network engineers or low-voltage pros. Professional crews handle cable runs, PoE budgets, secure Wi‑Fi, and system tuning. The result is fewer false alerts and clear footage when you need it.
- Reliability: Wired backbones and tuned Wi‑Fi reduce dropouts.
- Identification: Correct angles and pixel density help capture faces and plates.
- Deterrence: Lighting scenes and audible/visual cues discourage trespassers.
- Compliance: Privacy zones and retention rules are set thoughtfully.
- Support: Lifetime 24/7 priority support means fast help when it matters.
Local considerations for Brampton
- Plan for freeze-thaw cycles: use weather-rated housings and seal exterior penetrations to stop moisture ingress during winter.
- Expect snow glare and early sunsets: enable true WDR and pair cameras with smart lighting scenes for consistent night detail.
- Coordinate with renovations: during upgrades, run cable pathways for future cameras, door strikes, and garage control.
How a smart security system works
Smart security links cameras, sensors, doorbells, sirens, and locks to a hub or platform that records events, sends alerts, and triggers automations. With proper install, video stays clear, alerts arrive in seconds, and lights and locks respond as one scene.
Think in layers—perimeter, approaches, and interior.
- Perimeter: Door/window sensors, sirens, and exterior cameras cover first contact.
- Approaches: Driveway and porch cameras capture faces and plates approaching doors.
- Interior: Motion sensors and interior cameras confirm activity when armed.
Useful baselines for clarity and detection:
- Mount exterior cameras ~8–10 feet high for face-level angles while reducing tamper risk.
- Aim for 40–60 pixels-per-foot (PPF) at critical zones to recognize faces/plates.
- Prefer continuous power (PoE) outdoors; budget ~15–30W per camera for typical PoE classes.
- Retention targets of 14–30 days satisfy most homeowners without excessive storage.
For more background reading on video fundamentals, this CCTV system guide outlines core concepts like recording modes and lens types.
Types of home security systems and approaches
Choose between wired, wireless, or hybrid systems. Wired (PoE) excels at reliability and 24/7 recording, wireless is flexible for finished homes, and hybrid blends both—wired for high-traffic zones, wireless where cabling isn’t practical.
Each approach carries trade-offs you should weigh against your home’s layout and your tolerance for maintenance.
- Wired (PoE): Highest reliability and bitrate; ideal for driveways and entries. Requires cable runs and a switch.
- Wireless: Fast to deploy; great for finished spaces. Battery plans and Wi‑Fi tuning are critical.
- Hybrid: Wire key cameras; add wireless sensors/doorbells where wiring is tough.
Device diversity strengthens security.
- Video doorbells verify visitors and packages; mount 48–52 inches from the porch floor.
- AI cameras reduce false alerts with person/vehicle detection.
- Contact sensors catch door/window openings within milliseconds.
- Smart locks enforce codes and schedules, perfect for cleaners or guests.
See a broader installation checklist here: home alarm installation guide.
Step-by-step installation process
A proven 8-step process: discovery, design, pre-wire (or site prep), device mounting, power/networking, provisioning, calibration, and validation. Each step prevents blind spots and ensures fast, accurate alerts with clean video.
- Discovery walkthrough: Note doors, windows, sightlines, and neighbor views. Document cable paths and attic/basement access.
- Design & bill of materials: Select devices by resolution, FOV, and detection type. Plan PoE budgets and Wi‑Fi SSIDs/VLANs.
- Pre-wire/site prep: Pull Cat6 to planned camera points; add low-voltage for locks, doorbells, and sirens.
- Mounting: Set exterior cams at 8–10 feet; indoor PIRs ~6–7 feet; avoid aiming at windows to reduce IR glare.
- Power & network: Land cables in a structured panel; label; use a UPS sized for 15–30 minutes of runtime for critical gear.
- Provisioning: Update firmware; enforce unique strong credentials; name devices by location (e.g., “Front Entry Cam”).
- Calibration: Define activity zones, privacy masks, and person/vehicle detection. Tune sensitivity to cut false alarms.
- Validation: Test arm/disarm, door chimes, lock automations, and alert latency. Confirm off-site access for all users.
SmartAura’s certified technicians handle all wiring and configuration end‑to‑end—then walk you through one‑touch control scenes that tie security to smart lighting, garage/entry, and voice assistants.
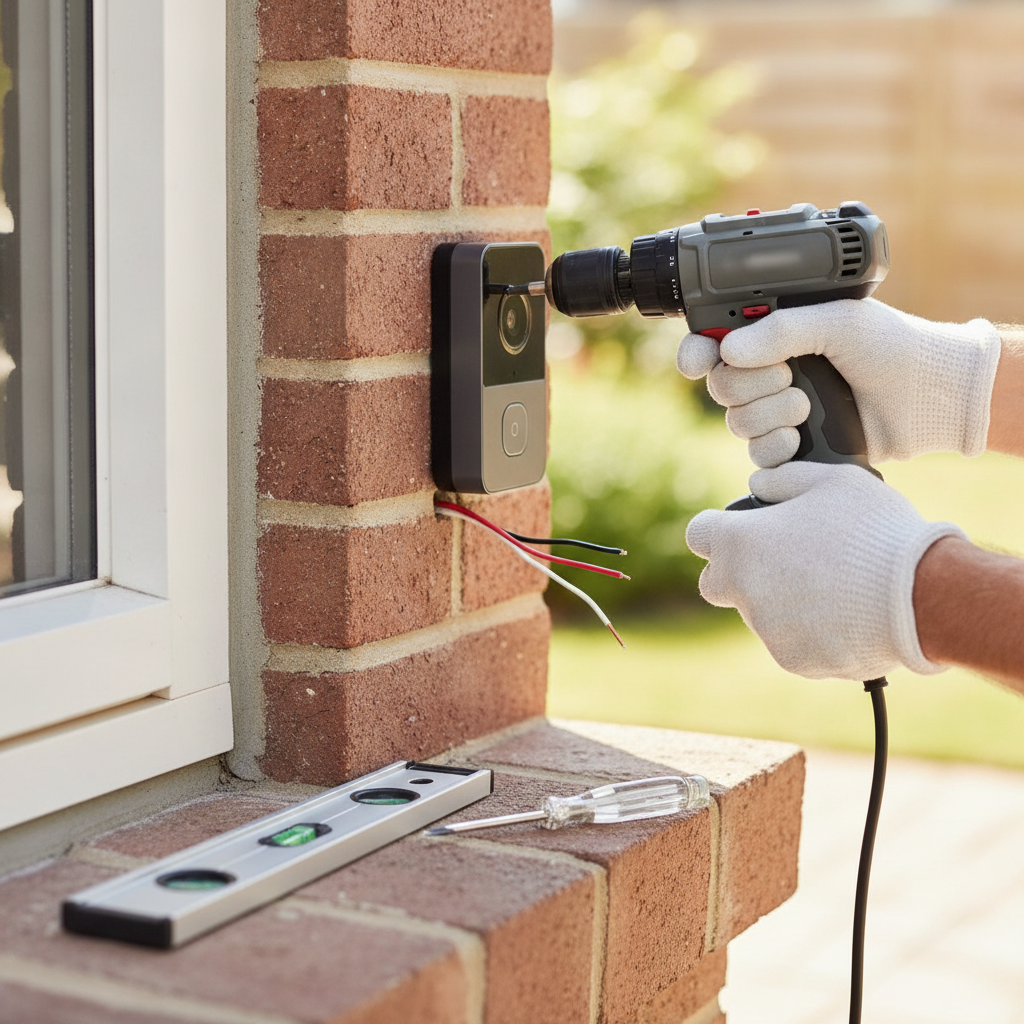
Soft CTA: Prefer a done-for-you install? Book SmartAura’s free in‑home consultation to map coverage and design a tailored system that’s simple to live with every day.
Best practices for placement, power, and privacy
Mount cameras at proven heights, aim across walkways (not straight on), secure continuous power, and define privacy masks. Calibrate detection to cut false alerts. These practices produce clear evidence and fewer interruptions.
Placement and optics
- Use 2.8–4 mm lenses for porches; 6–12 mm for driveways to tighten PPF on plates.
- Avoid backlighting; leverage true WDR to balance bright snow and shaded porches.
- Keep PIRs 6–7 feet high, angled across motion paths; avoid HVAC vents to reduce triggers.
Power and continuity
- Standard PoE (802.3af) supports many cameras; budget ~15W; PoE+ (802.3at) up to ~30W for PTZ/heaters.
- UPS sizing for 15–30 minutes lets recorders and switches shut down gracefully during outages.
- For batteries, schedule check-ins; many doorbells run 2–6 months per charge with optimized settings.
Privacy and retention
- Mask neighbor windows and public sidewalks; focus zones on your property lines.
- Retention of 14–30 days is typical; longer for second homes or frequent travel.
- Share access with family via named profiles; audit access logs monthly.
For more camera fundamentals and configuration, this video surveillance guide reviews features like WDR, color night vision, and frame rates.
Network readiness and reliability
Great security relies on great networking. Plan dedicated SSIDs/VLANs, stable coverage, and QoS for cameras. Use wired backbones when possible. Strong Wi‑Fi, PoE switching, and a UPS keep streams crisp and alerts fast.
Bandwidth and coverage
- Expect 2–8 Mbps per 1080p camera; 4K needs more. Right-size your internet plan and local storage.
- Mesh Wi‑Fi extends coverage but wire backhaul nodes when possible for stability.
- 2.4 GHz reaches farther; 5 GHz carries more data—use both for balance.
Security hygiene
- Unique, long passwords per device; enable MFA for remote admin.
- Segment cameras on a security VLAN; block unnecessary outbound traffic.
- Keep firmware current; schedule quarterly maintenance windows.
If your Wi‑Fi drops at the far side of the house, SmartAura’s networking & connectivity service designs proper coverage so cameras and sensors never miss a beat.
Tools, tech, and resources we use
A professional kit includes impact drivers, fish tapes, labelers, PoE testers, tone generators, cable certifiers, and secure provisioning tools. The right gear speeds clean installs and reliable performance.
Installer toolkit
- Impact driver with clutch control for clean mounting on varied materials.
- Fiberglass fish tape and glow rods for safe pulls through walls and ceilings.
- PoE meters and tone/probe kits to validate power and trace runs quickly.
- RJ45 pass-through crimpers and cable testers for Cat6 terminations.
Provisioning and control
- Secure onboarding flows with unique credentials and MFA.
- Logical naming: “Garage NW Cam,” “Kitchen Motion,” “Back Door Lock.”
- Unified app control with scenes tied to voice assistants and hubs.
System components you’ll often see in SmartAura designs:
- AI-enabled cameras, smart locks, video doorbells, interior/exterior sirens.
- Contact, motion, glass-break, and leak sensors from our smart sensors lineup.
- Smart lighting switches, dimmers, and scenes for deterrence and safety.
Case studies: Brampton homes we secured
Real projects show how design decisions pay off. In Brampton, SmartAura blends PoE cameras at key approaches, paired with doorbell verification and interior sensors, to deliver fast, accurate alerts and seamless daily living.
Detached family home
- Four PoE exterior cameras at 8–10 feet, set to 20–25 fps for smooth motion.
- Video doorbell at 50 inches, paired with smart lock and alarm arming.
- Driveway camera with a tighter lens for license-plate clarity at night.
- Smart lighting pathway scene triggers when the system arms after 10 p.m.
Townhome retrofit
- Hybrid plan: wireless door/window sensors; one PoE cam covering the porch and walkway.
- Dedicated 2.4 GHz SSID for sensors; 5 GHz for indoor camera; QoS prioritization applied.
- One-touch “Goodnight” scene locks the door, arms stay mode, and dims lights to 20%.
Multi‑generation home
- Two interior motion sensors zoned so late-night kitchen trips don’t trigger alarms.
- Garage door controller with geofenced auto-close after 9 p.m. via garage & entry control.
- Shared access for adult children with named profiles and activity alerts.
DIY vs. professional: what’s right for you?
DIY works for simple, single‑device scenarios. Professional installation shines when you want reliable coverage, clean wiring, strong networking, and unified control with lighting, garage, and voice assistants—plus lifetime, 24/7 support.
| Factor | DIY | Professional |
|---|---|---|
| Complexity | Okay for 1–2 devices | Best for multi‑device, whole‑home |
| Reliability | Depends on Wi‑Fi and batteries | Wired backbones, tuned Wi‑Fi |
| Video quality | Variable placement/bitrate | Engineered angles and PPF |
| Aesthetics | Visible wires common | Hidden cabling, clean terminations |
| Automation | Basic app routines | Unified scenes across subsystems |
| Support | Self‑service | Lifetime 24/7 priority support |
Not sure which camp you’re in? We’ll assess your layout and goals during a free consult and recommend a path that fits how you live.
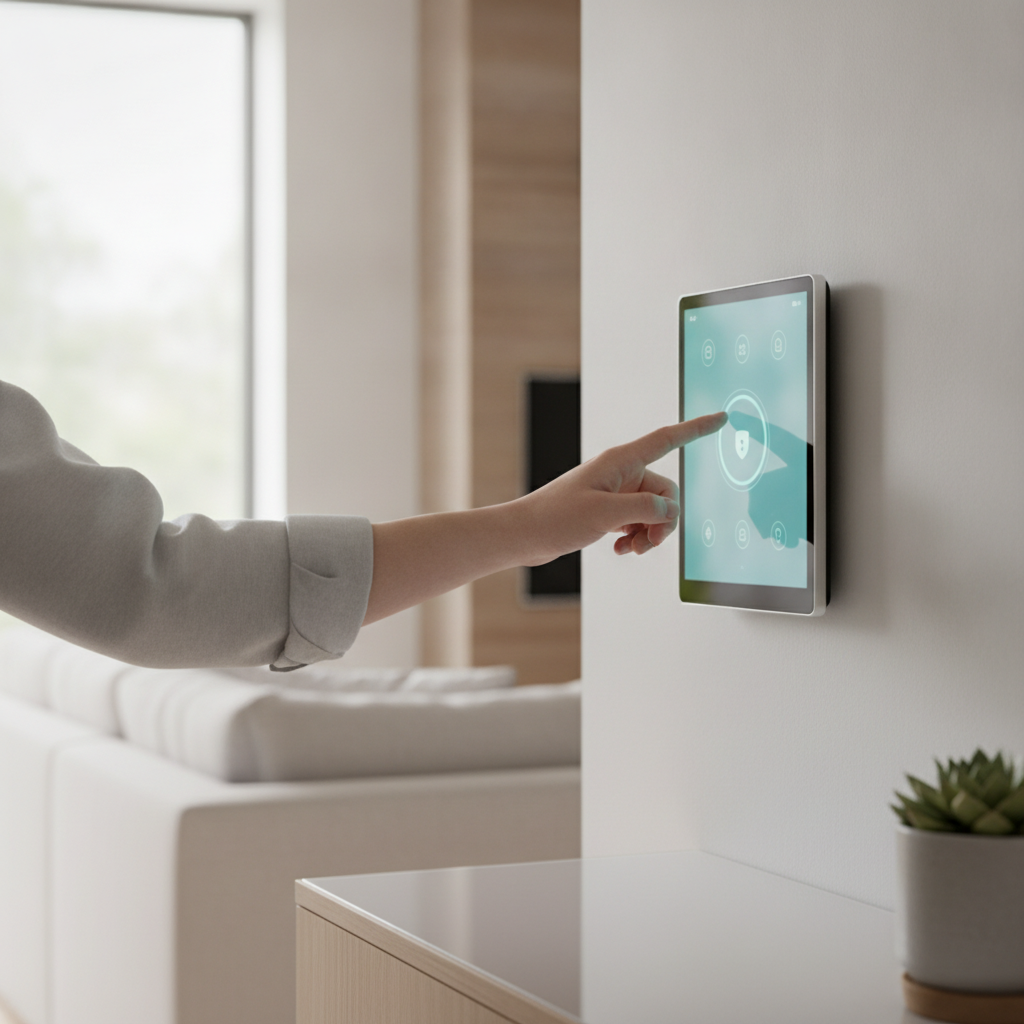
Maintenance, monitoring, and ongoing support
Security is not “set and forget.” Quarterly checkups, firmware updates, and periodic calibration keep false alerts low and video crisp. Professional monitoring and named-user access help catch issues faster and maintain accountability.
Operational rhythm
- Quarterly: firmware updates, health checks, and detection zone reviews.
- Monthly: review access logs, test sirens, and confirm off‑site notifications.
- Seasonal: clear lenses, re-aim if foliage or snowbanks affect the view.
Integrations that make maintenance easier
- Lighting scenes to illuminate approaches during alerts for better color capture.
- Garage/entry control to auto‑lock and auto‑close under predefined conditions.
- Voice assistant shortcuts for quick arming/disarming by trusted users.
SmartAura backs every project with lifetime, 24/7 priority support so you always have a pro on call.
Frequently Asked Questions
These concise answers address the most common questions Brampton homeowners ask about home security system installation, from timelines to device choices and privacy considerations.
How long does a typical home security installation take?
Most single-family homes take one to two days for a professional team, including design confirmation, device mounting, wiring, provisioning, and testing. Complex properties or retrofits with limited access may extend the timeline to ensure clean cable runs and solid network performance.
Should I choose wired or wireless devices?
Wired (PoE) cameras are best for reliability, constant power, and higher bitrates. Wireless devices are fast to deploy in finished spaces. Many Brampton homes use a hybrid: wire key exterior cameras and use wireless for interior sensors and secondary areas.
Where should I place cameras for the best results?
Cover main entry, secondary doors, and the driveway approach. Mount exterior cameras around 8–10 feet high and aim across walk paths. Keep doorbell cameras at about 48–52 inches. Avoid direct bright backlight and use smart lighting for consistent night detail.
Can I integrate lighting and locks with my alarm?
Yes. Unified control lets you arm the system, lock doors, and activate lighting scenes with one touch. SmartAura designs tie security to lighting, garage/entry, and voice assistants so daily routines—like leaving home or going to bed—are effortless.
Key takeaways and next steps
Engineer your system, don’t just “stick and hope.” Prioritize coverage, power, and network stability, then integrate lighting and entry for daily ease. If you want turnkey reliability in Brampton, SmartAura handles design, installation, and lifetime support.
- Plan zones and choose wired, wireless, or hybrid intelligently.
- Use proven heights, angles, and PPF targets for clear identification.
- Harden your network with VLANs, QoS, and a UPS.
- Automate scenes with lighting, garage/entry, and voice.
- Schedule maintenance so performance stays consistent all year.
Ready to see your options? Explore SmartAura smart security and book your free in‑home consultation. We’ll design a system that protects what matters and feels effortless to live with.