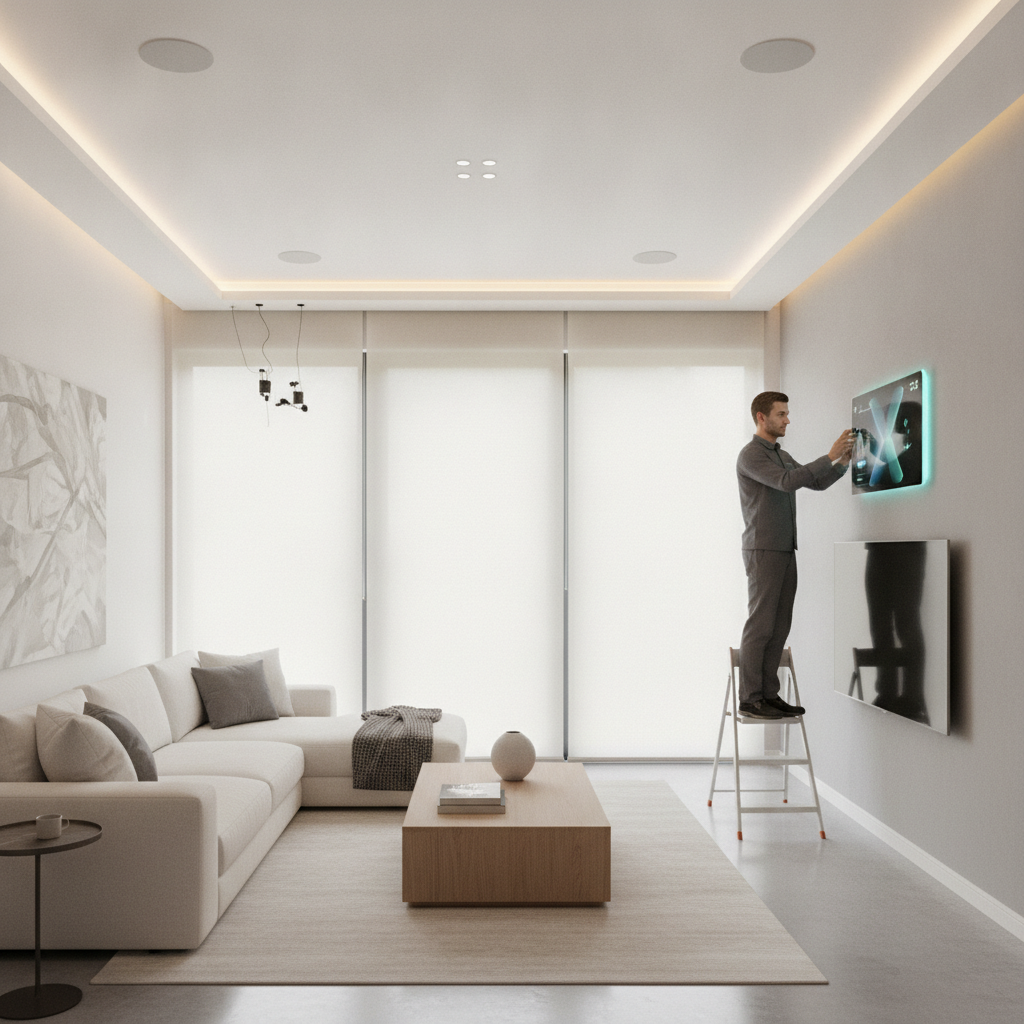
Home automation system installation is the professional planning, wiring, configuration, and integration of smart devices into one dependable control platform. It unifies lighting, security, climate, audio/video, and networking so every room works together. For homes near 8 Nelson St W and across the GTA, expert installation means smoother days, stronger security, and reliable connectivity.
By Jai inder • Last updated: 2026-06-27
Your 2026 home automation installation game plan
A modern home automation installation follows a proven arc: discovery, engineered design, prewire (if needed), professional setup, and long-term support. The fastest wins come from unifying Wi‑Fi, lighting, climate, and security on one platform. Use this guide to plan each stage with confidence and avoid common pitfalls.
- What you’ll learn today
-
- How a whole-home system is defined and scoped
- Why networking is the backbone of every smart home
- Step-by-step installation from consultation to handoff
- Wired vs. wireless vs. hybrid approaches
- Best practices our certified technicians use on-site
- Tools and resources to speed up decisions
- Real GTA case examples you can model
- Navigate this guide
-
- Quick Summary
- What Is Home Automation System Installation?
- Why Installation Quality Matters
- How End-to-End Installation Works
- Step-by-Step: From Consultation to Control
- System Types and Approaches
- Best Practices We Recommend
- Tools and Resources
- Case Studies and Examples
- Scope & Value Factors (No Pricing)
- Wired vs. Wireless vs. Hybrid (Comparison)
- Plan Your System with SmartAura
- Frequently Asked Questions
- Key Takeaways
- Conclusion & Next Steps
Quick Summary
A successful smart home starts with a robust network and a unified control plan. Define spaces and scenes, choose a platform that supports Matter, and let certified pros handle wiring and configuration. Expect a guided path: discovery, design, installation, validation, training, and lifetime support.
SmartAura delivers a simple, engineered process for homeowners who want seamless control without DIY headaches. Our end-to-end approach covers discovery, bespoke design, white-glove installation, and lifetime, 24/7 priority support—so your system stays reliable long after day one.
Throughout this guide, we’ll connect the dots between planning and lived results in rooms you use daily—kitchens, theaters, bedrooms, and entryways—so you can prioritize what matters most.
What is home automation system installation?
Home automation system installation is a professional service that designs and integrates lighting, security, climate, entertainment, and networking into a single control experience. It replaces fragmented devices with an engineered plan, precise wiring, and expert configuration for dependable, everyday use.
In our experience integrating homes near 8 Nelson St W and across the GTA, the pain rarely comes from a “bad device.” It comes from devices that were never engineered to work together. A proper installation solves that by unifying products under one plan and one app or control display.
- Unified control: One-touch scenes for arrivals, movie nights, or bedtime.
- Reliability first: Hardwired backbones where it counts; enterprise-grade Wi‑Fi elsewhere.
- Security baked in: Smart locks, video doorbells, sensors, and AI cameras act as one team. Explore smart security.
- Comfort and efficiency: Smart climate zones, schedules, and occupancy-based adjustments. See our smart climate.
- Entertainment without friction: Whole-home audio and A/V that just works. Browse audio & video.
- Future-ready: Matter integration to reduce brand lock-in and boost device compatibility. Learn about assistants & hubs.
When SmartAura designs a system, we start with lifestyle—how you move through mornings, how you host, and how you wind down—then shape the technology around that flow.
Why installation quality matters
Quality installation prevents Wi‑Fi dropouts, device conflicts, and security gaps. The right backbone, wiring, and configuration reduce support tickets and “why won’t this connect?” moments. For families, that means safer entries, smoother streaming, and energy savings you can feel daily.
Here’s the thing: most smart home problems are architectural, not app-based. If the network is weak, everything on top struggles. If devices aren’t provisioned on the right channels, interference adds up. If cameras and door locks aren’t planned with lighting and sensors, you get false alerts or missed events.
- Network resilience: Controller-based Wi‑Fi with smooth roaming and dedicated IoT networks. Read about networking & connectivity.
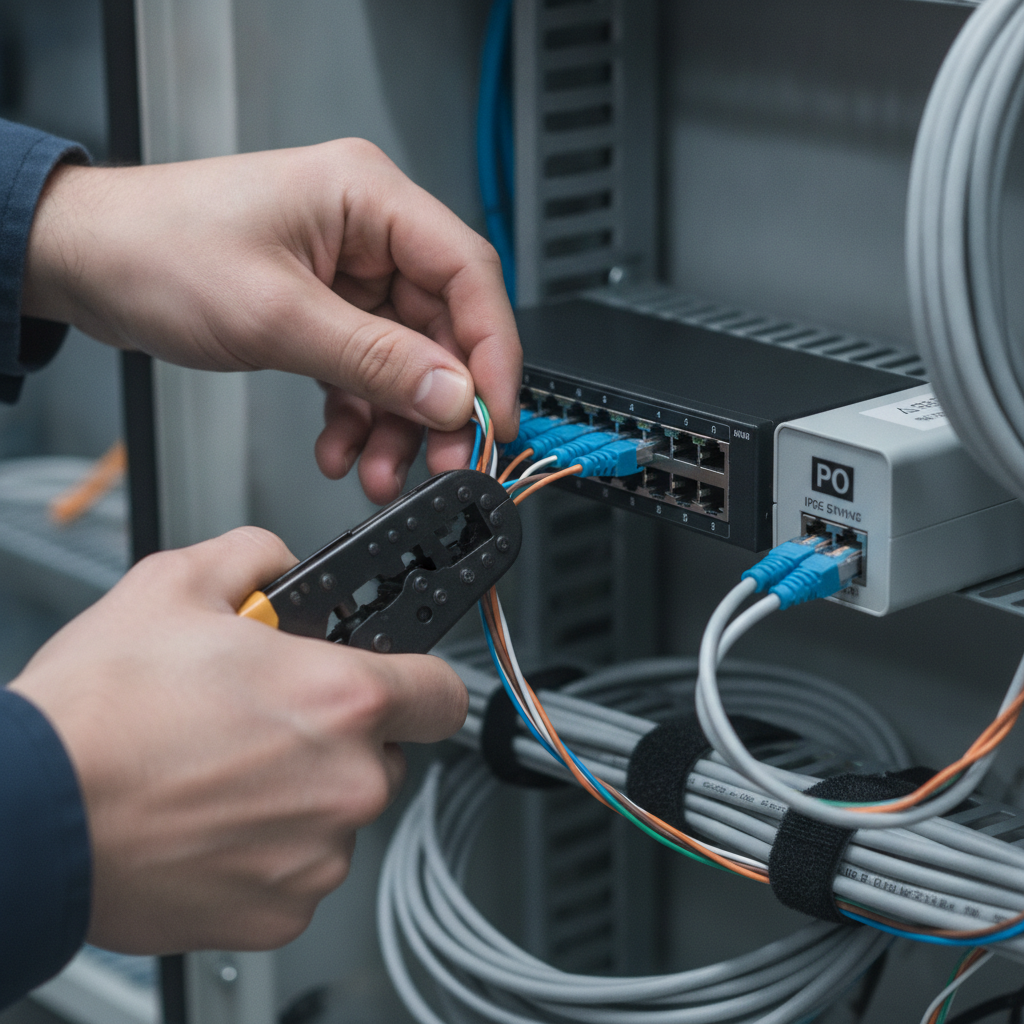
- Low-voltage discipline: Proper gauge, labeling, surge protection, PoE planning, and pathway access.
- Security posture: Strong authentication, role-based access, and audit-friendly logs.
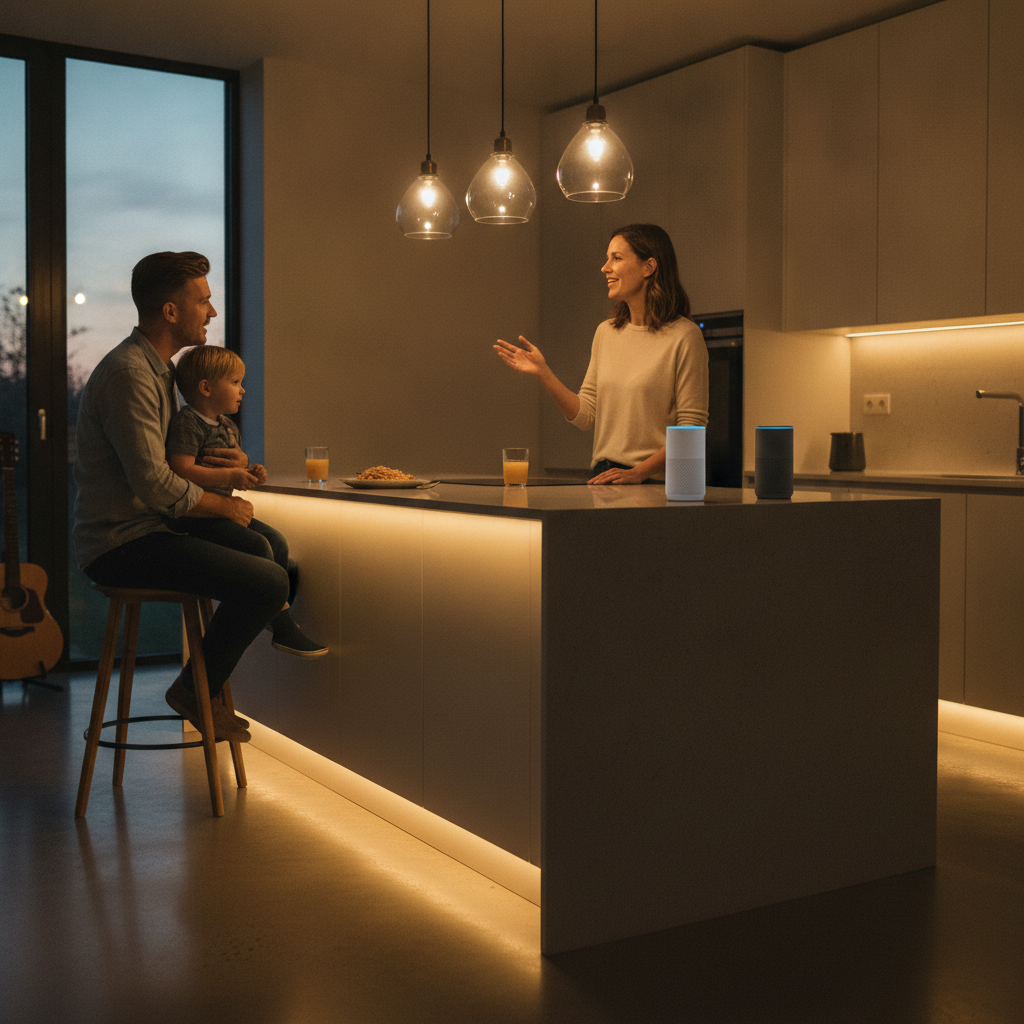
- Human-centered design: Wall keypads, voice assistants, and control panels placed where you actually use them.
SmartAura’s white-glove installation focuses on these fundamentals. That’s how we keep whole-home scenes fast and predictable—morning lights fade up, shades rise, climate resumes, and music follows you without stutter.
How end-to-end installation works
Professional home automation follows a repeatable lifecycle: discovery, engineered design, prewire, device install, configuration, validation, and training. Each stage has clear deliverables so you always know progress, what’s next, and how we’ll support you for the long run.
Below is the practical, end-to-end flow SmartAura uses on every project—new builds, renovations, and lived-in upgrades alike.
Lifecycle at a glance
- Discovery: Free in-home consultation to map spaces, routines, and priorities.
- Engineered design: Bespoke plan with device schedules, wiring, and control logic.
- Prewire (when applicable): Low-voltage runs, conduit, and cabinet placement.
- Installation: Certified technicians mount, wire, and provision gear.
- Configuration: Scenes, automations, permissions, and networks tuned for stability.
- Validation: Walkthrough, stress tests, and documentation for every subsystem.
- Training + support: Hands-on handoff and lifetime, 24/7 priority support.
Discovery details
- Room-by-room needs assessment and “day-in-the-life” mapping.
- Prioritize scenes—arrive, wake, bedtime, away, entertain.
- Connectivity survey to identify dead zones and interference.
Engineered design details
- Wiring diagrams, device lists, network plan, and control display locations.
- Matter-capable platform selection for long-term flexibility.
- Acceptance criteria so “done” is crystal clear.
Installation & configuration details
- Low-voltage cabinet with PoE budget, surge protection, and labeling.
- Keypads and sensors placed for natural use and coverage.
- Scenes and schedules tuned to actual household rhythms.
Validation & training details
- Stress tests for Wi‑Fi roaming, lock/doorbell events, and streaming.
- Homeowner training with a one-page “cheat sheet” for each scene.
- Enrollment into lifetime, 24/7 priority support for ongoing updates.
Step-by-step: from consultation to control
Plan rooms and scenes first, then lock the network plan, then layer devices. Validate each subsystem before moving on. This sequence prevents rework, keeps timelines tight, and ensures the whole-home experience feels instant from day one.
- Define outcomes: Arrive home to lights on and doors unlocked, or wake to shades rising and gentle audio.
- Map rooms: Kitchen, bedrooms, office, theater, outdoors—note usage patterns and must-haves.
- Choose a platform: Select a hub and control displays that support Matter and your preferred voice assistant. Learn about assistants & hubs.
- Engineer the network: Controller-based Wi‑Fi with 2–3 access points for multi-level homes; segment IoT where appropriate. See networking & connectivity.
- Prewire smart: Run CAT6 to TVs, cameras, keypads, and AP locations; add conduit for future upgrades.
- Install security first: Doorbells, locks, sensors, and cameras establish safety and presence. Review smart security.
- Layer lighting + shades: Keypads and motorized blinds enable fast, scene-based control. Explore smart lighting.
- Dial in climate: Thermostats, sensors, and schedules sync to occupancy and time of day. Visit smart climate.
- Add entertainment: Whole-home audio, streaming setups, and smart remotes to unify control. See audio & video.
- Validate, train, support: We test every path and scene, then coach your household and stand by 24/7.
Tip: Keep a running punch list on your phone. Capture “wish we could…” moments during the first week—then we’ll fold them into your scenes.
System types and approaches
Most homes succeed with hybrid designs: hardwire backbones for reliability and use wireless where flexibility shines. Pair this with a unified platform—voice assistants, hubs, and control displays—that supports Matter to keep options open as you expand.
Wired, wireless, hybrid
- Wired: Highest reliability and bandwidth; ideal for in-ceiling speakers, TVs, cameras, and control panels.
- Wireless: Fast to deploy; perfect for sensors, smart bulbs, and portable devices.
- Hybrid (recommended): Hardwire key loads and A/V; use wireless for flexible add-ons and seasonal gear.
Protocols and compatibility
- Thread and Zigbee: Low-power mesh networks that keep sensors responsive.
- Wi‑Fi and Ethernet: High bandwidth for A/V, cameras, and control panels.
- Matter: A standards-based layer to improve cross-brand compatibility.
Platforms and control
- Voice assistants + hubs: Centralize command and reduce app sprawl. See our assistants & hubs overview.
- Control displays: In-wall panels put whole‑home scenes a tap away; great near entries and kitchens.
- Remotes and keypads: Single-button access for the functions you need most, where you need them.
Security and access
- Smart locks + video doorbells: Create trusted access for family and guests. Explore smart security.
- Sensors: Door/window, motion, and environmental sensors feed automations.
- Lighting tie-ins: Link entry events to pathway lights for safer nighttime arrivals.
Networking and connectivity
- Wi‑Fi design: Controller-based systems improve roaming and reduce interference. Learn about home networking.
- Segmentation: Separate IoT, guest, and home profiles to enhance security and performance.
- Power over Ethernet: Clean power and data for cameras, access points, and control panels.
Best practices we recommend
Plan experiences first, not devices. Build a strong network, prewire where possible, and label everything. Use scenes and schedules that match daily life, and document your configuration so changes are fast and safe.
Design for life, not for lists
- Start with morning, arrival, bedtime, and away scenes; add special routines later.
- Group lights by the way you move—task, accent, and path lighting on one keypad.
- Place controls where hands naturally go: kitchen entry, primary suite, and garage access.
Engineer the backbone
- Use controller-based Wi‑Fi and plan 2–3 access points for multi-floor homes.
- Run CAT6 to displays, cameras, and fixed gear; leave pull strings for future cable.
- Plan PoE budgets up front for cameras, access points, and control displays.
Secure the perimeter (and data)
- Enforce unique credentials and role-based access.
- Segment IoT from personal devices, and disable unused services.
- Schedule backups of configurations and document changes.
Validate like a pro
- Test scenes at different times of day and with multiple users.
- Walk the home with streaming music to confirm seamless roaming.
- Trigger alarms, doorbell calls, and lock events to confirm automations.
We’ve found that a clear naming convention (e.g., "Kitchen-UnderCabinet-East") and port labeling dramatically cut future troubleshooting time.
Tools and resources
You’ll move faster with a clear bill of materials, a labeled wiring map, and a platform that consolidates control. Use pro-grade network gear, reliable lighting controls, and door hardware that integrates cleanly with your chosen hub.
- Core subsystems: Networking & connectivity, smart lighting, smart security, smart climate, audio & video.
- General primer on home alarms: See this home alarm installation overview for context on monitored systems and sensor types.
- Climate context: Toronto-area cooling challenges vary by season; this summer AC guide outlines patterns we often design around.
- Service models vary: Different integrators scope projects differently; here’s a general services page to compare terminology.
Build your decision kit: floor plans, photos of panels and closets, and a wishlist by room. We’ll translate it into an engineered plan.
Case studies and examples
Across GTA projects, the biggest wins come from unifying networking with lighting, security, and climate—and validating scenes with the family that will use them daily. The result: fewer apps, faster control, and routines that feel natural.
Family home near 8 Nelson St W: Wake, work, unwind
- Challenge: Fragmented apps and Wi‑Fi dead zones; kids left lights on; front entry felt dark at night.
- Approach: Controller-based Wi‑Fi with three access points; keypad scenes; smart locks and doorbell tied to pathway lighting.
- Result: One-tap “Goodnight” shuts lights, locks doors, and arms security; consistent Wi‑Fi for streaming and work calls.
Renovation in the GTA: Hybrid wiring that pays off
- Challenge: Mid-reno, clients wanted theater audio, motorized shades, and climate control—with clean walls.
- Approach: Prewired CAT6 to displays and speakers; PoE for cameras and panels; wireless sensors where walls were finished.
- Result: Rock-solid A/V and security with minimal wall patching; flexible sensors added after paint.
Condo retrofit: Small space, big control
- Challenge: Limitations on drilling and common-area access; desire for voice control and simplified remotes.
- Approach: Wireless shades, smart dimmers, and a compact hub; mesh Wi‑Fi node placement tuned for steel and concrete.
- Result: Quiet shades, quick lighting scenes, and a single remote for TV and streaming.
Townhome audio + security refresh
- Challenge: Speakers and cameras installed at different times by different vendors; nothing worked together.
- Approach: Unified platform, PoE cameras, and a central control display near the kitchen.
- Result: Fewer apps, faster access, and a family-friendly dashboard for daily scenes.
New build theater-first plan
- Challenge: Owners wanted a cinematic experience but didn’t want tech to dominate the room.
- Approach: Prewire for in-ceiling speakers and hidden equipment; lighting zones tied to viewing modes.
- Result: A clean, quiet theater with lighting that shifts automatically from previews to credits.
Home office reliability upgrade
- Challenge: Video calls stuttered at certain times; printer and scanner dropped connections.
- Approach: Dedicated access point, Ethernet to desk, and an automation that mutes speakers during calls.
- Result: Stable meetings and a calmer workspace that adapts to focus.
Scope & value factors (no pricing)
Project scope depends on spaces covered, wiring access, device count, and desired automations. The best value comes from getting the foundation right—network, wiring, and unified control—then scaling with add-ons as life evolves.
- Spaces: How many rooms, outdoors, and specialty areas (theater, gym, office)?
- Infrastructure: Is prewire possible, or is it a lived-in retrofit?
- Subsystems: Security, lighting, shades, climate, audio/video, sensors, and access control.
- Control: Voice, keypads, remotes, and in-wall displays—how many touchpoints?
- Support: Do you want 24/7 priority support and proactive maintenance?
SmartAura’s quote-based approach ensures the design matches your lifestyle goals first, then your timeline. We never push devices you won’t use; we engineer systems you’ll rely on every day.
Local considerations for 8 Nelson St W
- Seasonal shifts can be sharp. Plan climate scenes that switch between heating and cooling modes automatically across spring and fall shoulder seasons.
- Winter light is brief. Combine motorized shades with smart lighting so morning and evening scenes stay bright without glare.
- Network congestion varies by building and neighborhood. A site survey helps place access points and reduce interference at peak hours.
Wired vs. wireless vs. hybrid (comparison)
Choose hybrid for most homes: wire where reliability and bandwidth matter, use wireless for flexibility. This mix minimizes wall work, improves uptime, and keeps upgrades easy.
| Approach | Best For | Pros | Considerations |
|---|---|---|---|
| Wired | A/V, cameras, control panels | High reliability, low latency | Requires prewire or retrofit pathways |
| Wireless | Sensors, smart bulbs, add-ons | Fast to deploy, flexible | Dependent on Wi‑Fi and RF environment |
| Hybrid | Whole-home installs | Best balance of uptime and flexibility | Needs upfront planning and labeling |
Plan your system with SmartAura
Get an engineered plan that turns daily routines into one-touch scenes. Our certified team handles design, wiring, configuration, and lifetime support—so your system works the way you live.
Ready to map your morning, arrival, and bedtime scenes? Book a free in-home consultation and we’ll turn your wishlist into a practical, phased roadmap—starting with the backbone that keeps everything stable.
Frequently Asked Questions
These quick answers address how professional installation works, what you can expect day one, and how to keep everything running smoothly for years.
What does a professional home automation installation include?
It includes discovery, engineered design, prewire when needed, installation, configuration, validation, and hands-on training. You’ll also have lifetime, 24/7 priority support with SmartAura, so scenes and devices stay reliable as your home evolves.
Do I need to prewire my home for a smart system?
Prewiring is ideal for new builds and major renovations because it boosts reliability for A/V, cameras, and control panels. For lived-in homes, we often use a hybrid approach—hardwiring key devices and adding wireless sensors and lighting where walls are finished.
Which subsystems should I start with first?
Start with the network backbone, then add security and access control. Next, layer lighting and shades for daily comfort, followed by climate and audio/video. This sequence delivers fast everyday wins and keeps timelines smooth.
How do you keep my system secure and private?
We segment networks, enforce strong authentication, and apply least-privilege access. Cameras, locks, and logs are configured for accountability. We also document configurations and provide ongoing updates as part of lifetime support.
What happens if I want to expand later?
We design for growth from day one. With Matter integration and a hybrid backbone, adding rooms, sensors, or A/V is straightforward. We’ll revisit your goals, update the design, and extend scenes so the whole home still feels cohesive.
Key takeaways
Start with outcomes, engineer the backbone, and unify control. Choose a hybrid design, validate scenes, and secure networks. With SmartAura’s lifetime support, your system adapts to you—not the other way around.
- Define scenes (arrive, wake, bedtime) before picking devices.
- Engineer Wi‑Fi and wiring first; layer systems in a set order.
- Use hybrid installs for the best mix of reliability and flexibility.
- Document, validate, and train so daily control is effortless.
- Rely on lifetime, 24/7 support to keep everything dialed in.
Conclusion & next steps
The best smart homes feel invisible because design, wiring, and configuration were done right. If you’re near 8 Nelson St W or elsewhere in the GTA, SmartAura’s engineered process delivers that quiet reliability—day after day.
Here’s your action plan:
- List your top three daily scenes and what “great” looks like for each.
- Decide which rooms matter most in phase one.
- Schedule a free in-home consultation so we can map the backbone and create your engineered plan.
Prefer to explore subsystems first? See smart lighting, smart climate, audio & video, networking, and smart security to spark ideas for your home.
Final CTA: Book a discovery session in 8 Nelson St W and see how a tailored plan turns everyday routines into one-tap comfort.